Overview
This article aims to provide a way to create badges when your users reach a certain amount of points from engaging with their community. Creating badges enable Community Managers to customize how they reward their users for performing certain actions.

Prerequisites
A community manager role or higher for the site: Community managers have access to community-related features and settings in Evoq Engage.
Solution
-
Login as a community role or higher.
-
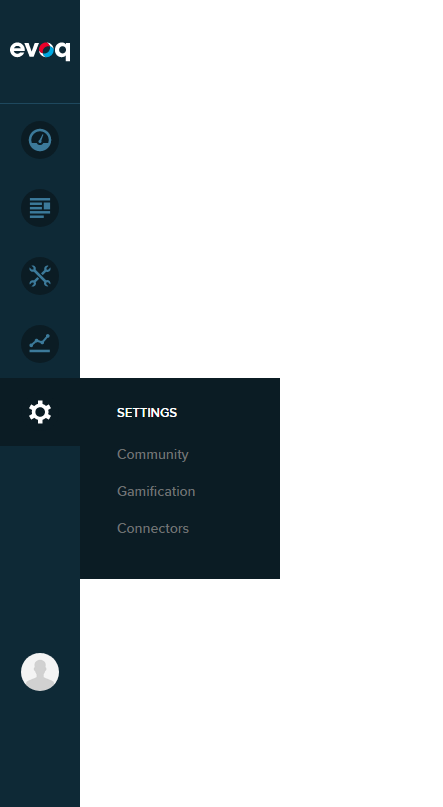
Go to .
-
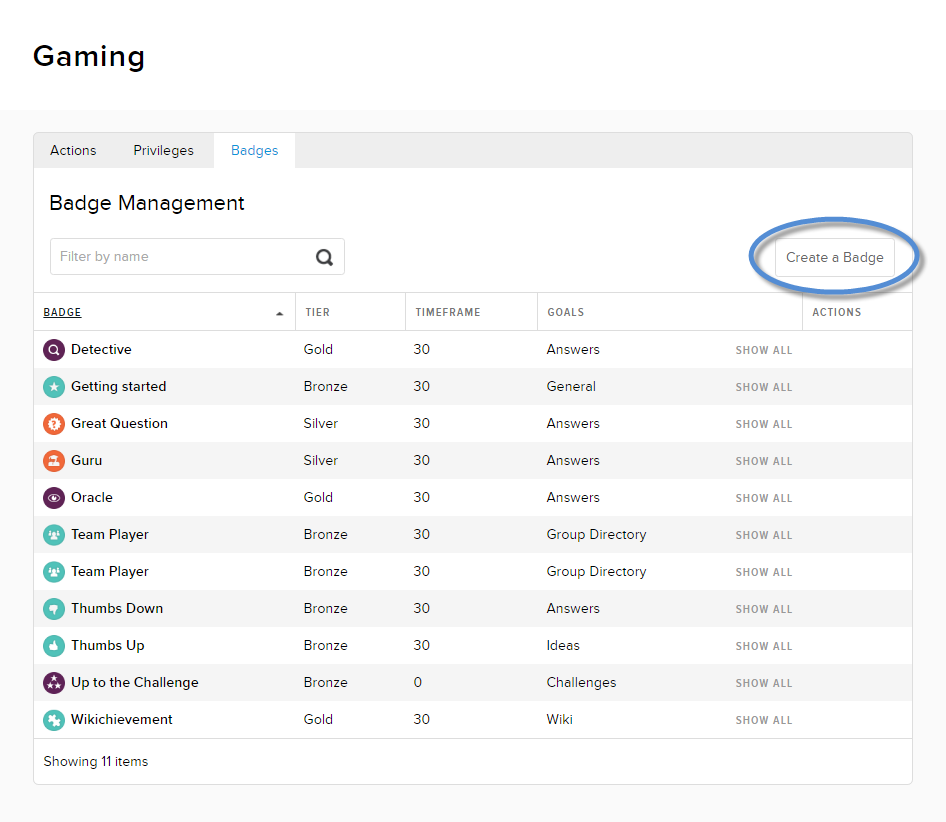
Click/Tap Create New.
-
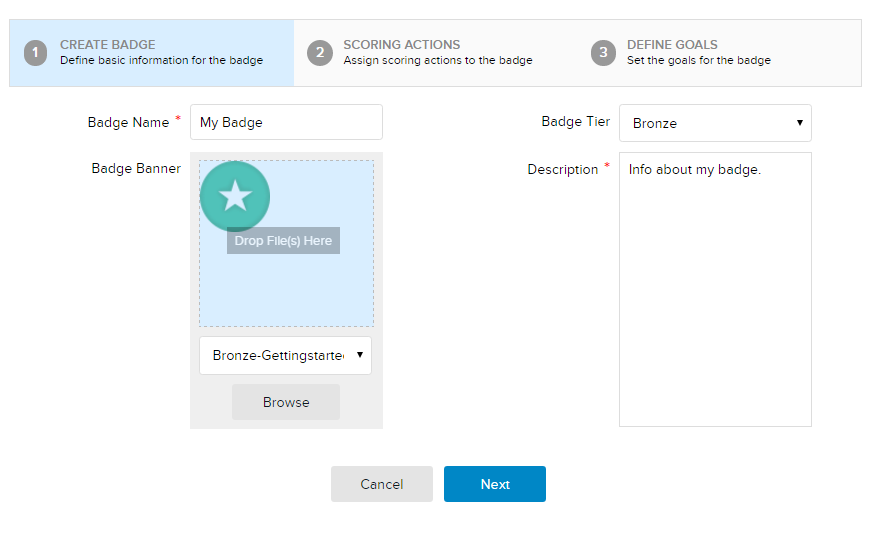
Provide information about the badge.
- Badge Tier: The category of the badge to indicate its desirability or the difficulty to obtain it.
- Badge Banner: The image that represents the banner. This image is displayed in a user's profile, if the user has earned the badge.
-
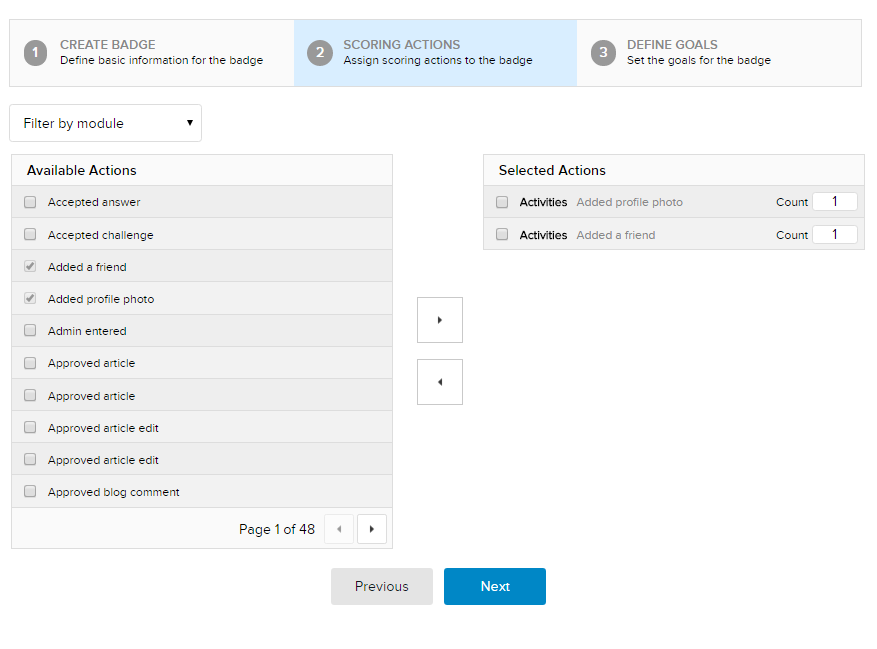
Choose one or more actions required to earn the badge.
- Check one or more items under Available Actions, then click/tap the right-arrow icon to move them to the Selected Actions section.
- Update the Count for each selected action to indicate how many times the user must perform that action for this badge.
- (Optional) To deselect an action, check its box, then click/tap the left-arrow icon.
-
Enter the Number of Days within which the user must perform all selected actions to earn the badge.
Testing
To test that the badges you've created are working correctly:
-
Log in with a test user.
- Perform the actions that you've defined for the badge.
- You should receive a notification popup that you have received the badge.
- You can also check that you've received the badge by clicking your User Profile > My Profile.

Related Articles


Priyanka Bhotika
Comments