Overview
This article provides instructions on how to start a Visual Studio project with templates.
This article applies to:


Prerequisites
- A local DNN installation with Host permissions.
- Visual Studio 2015 is the recommended IDE for developing DNN modules.
Information
-
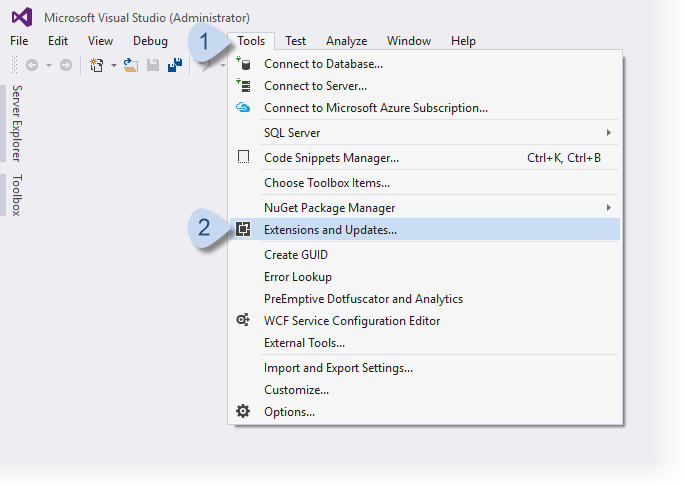
Download and install the templates.
For Chris Hammond's templates,
-
Go to .
-
Highlight the tree and search for DotNetNuke.
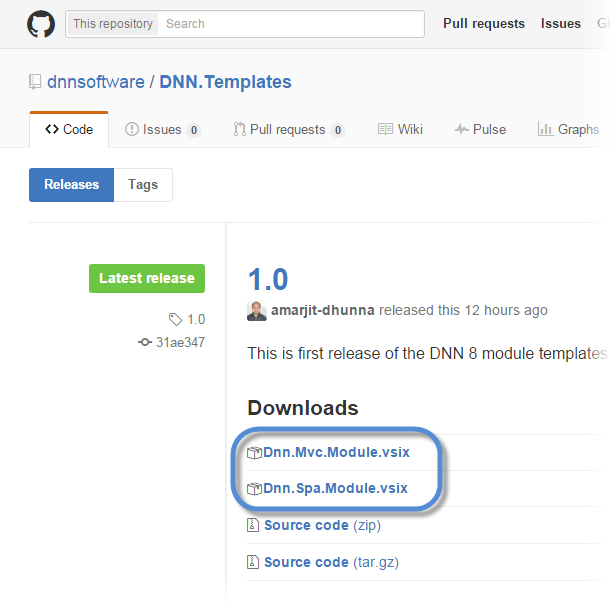
Note: See Chris Hammond's instructions for other installation methods.For the DNN 8 templates,-
Download the appropriate .vsix file.
Two are included:
- Dnn.Mvc.Module.vsix
- Dnn.Spa.Module.vsix
-
Go to .
-
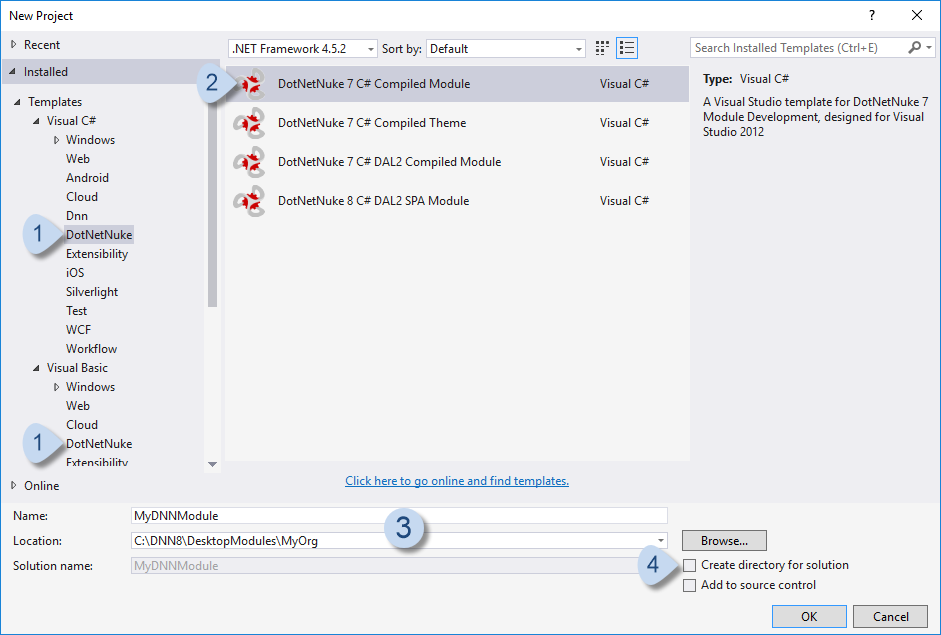
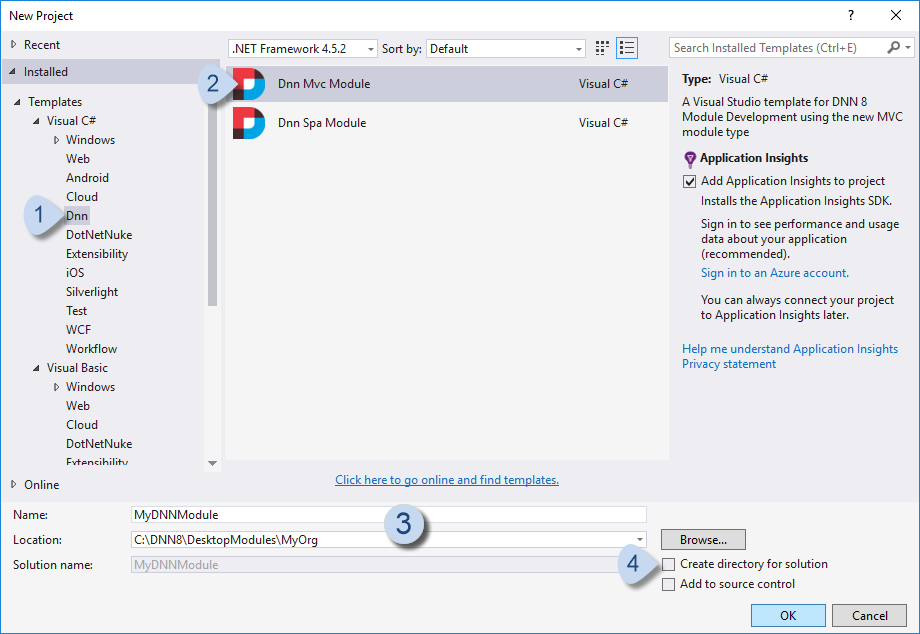
Create a new Visual Studio project.
-
Select the template for the new project.
For Chris Hammond's templates, go to .
For the DNN 8 templates, go to .
-
Select the template for the new project.

Parent topic: Creating a Module
Previous topic: Create a Module Using Templates
Next topic: Test Your Module
Priyanka Bhotika
Comments